Reverse Osmosis wasn’t invented to make your morning coffee taste better—it was born in the 1950s to desalinate ocean water for the U.S. Navy. Imagine soldiers at sea, desperate for a drink, and some scientist says, “Let’s squeeze the sea through a plastic sheet.” And it worked. That’s the same tech under your sink, just smaller and less likely to be shot at.
During the 1960s, RO systems were the size of refrigerators and cost as much as a car. Now you can buy one for the price of a nice dinner for two (unless you order the lobster). They’ve shrunk so much that some fit inside a Brita pitcher—which is like strapping a jet engine to a tricycle.
The Installation Horror Story (And Happy Ending)
Installing an RO system sounds like a weekend project, but it’s actually three hours of cursing under the sink, discovering a crusty old sponge from 1997, and questioning your marriage. Don’t worry, you can do it yourself if you’re handy with a wrench and not afraid of getting wet. Otherwise, pay a plumber an extra $150 to save your sanity.
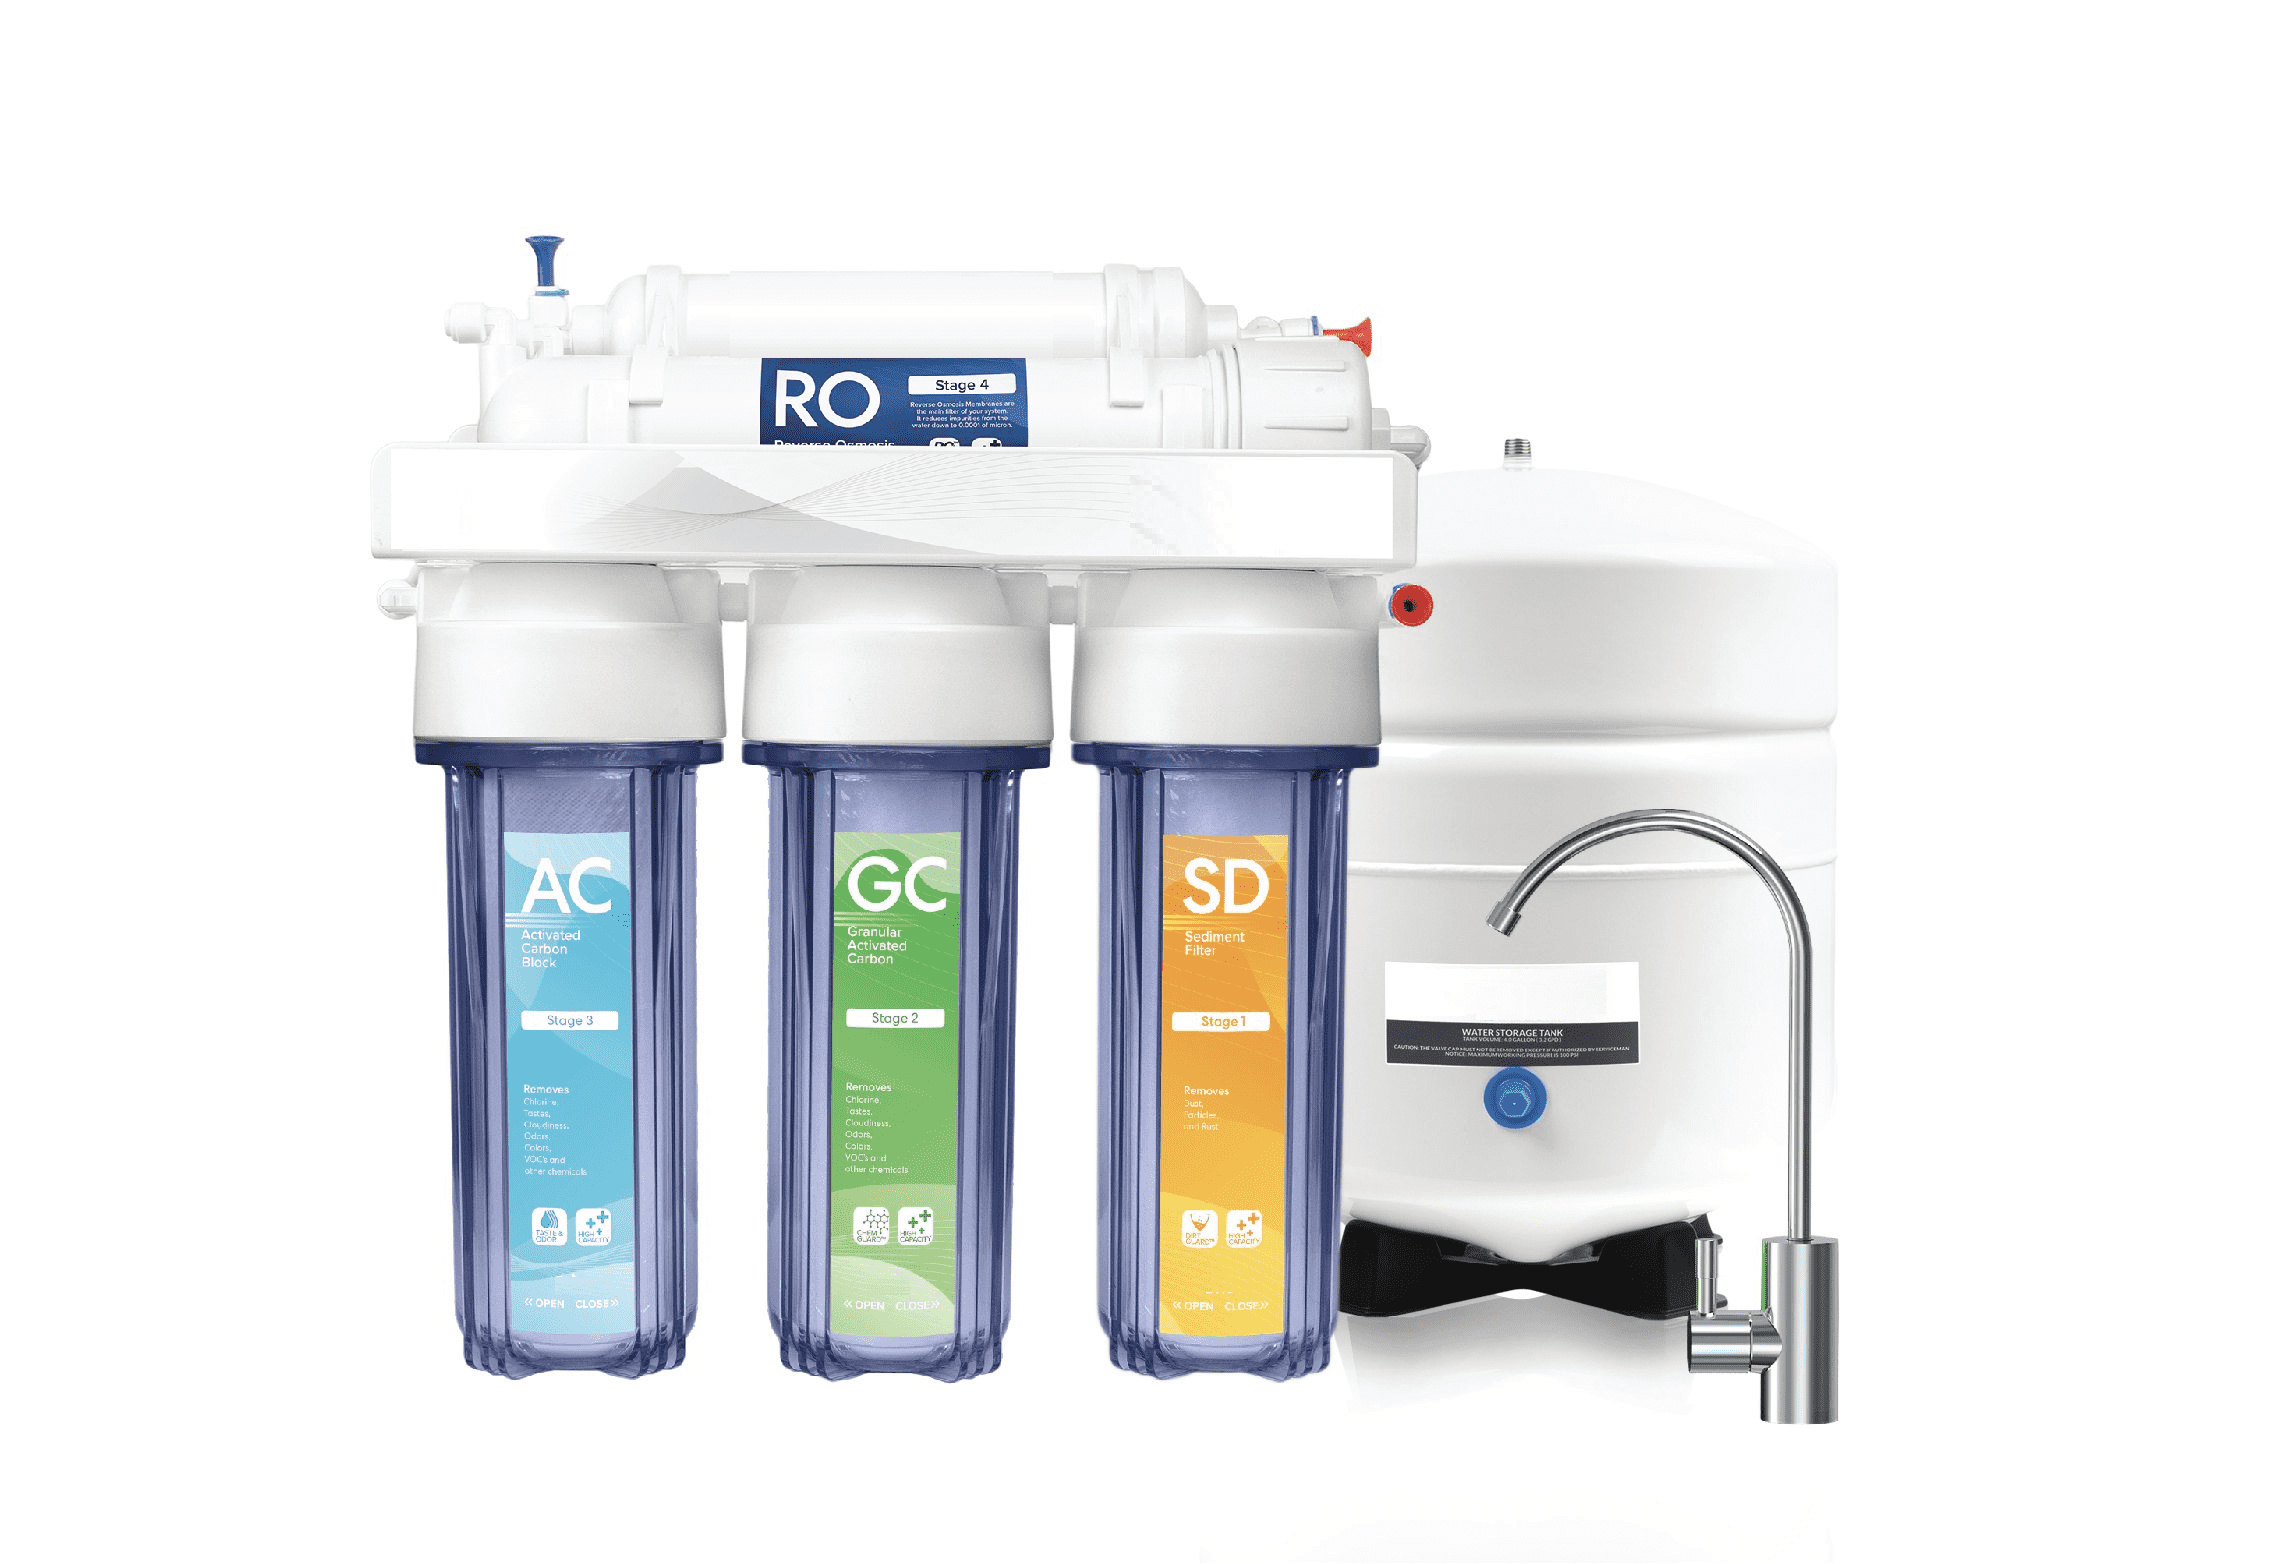 5 Stage: Complete Home Reverse Osmosis Drinking Water Filtration System
Once it’s in, the tank fills up slowly—like watching a sloth climb a tree. But when you finally turn the tap, the water comes out so crisp, you’ll start drinking it for fun. I once chugged three glasses in a row just to taste the nothingness. It was glorious.
Pro tip: change the filters every 6 to 12 months, or your system becomes a slime factory. Miss a few changes, and you’ll be drinking “memory water” that tastes like regret and old shoes. The membrane lasts 2-3 years if you’re good, which is longer than most new year’s resolutions.